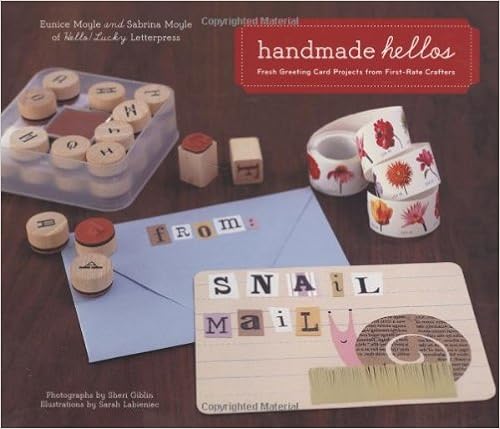
Handmade Hellos: Fresh Greeting Card Projects from First-Rate Crafters
Eunice Moyle
Language: English
Pages: 143
ISBN: 0811862399
Format: PDF / Kindle (mobi) / ePub
Signed, sealed, delivered! In this delightful book, card-making mavens Eunice and Sabrina Moyle of Hello!Lucky letterpress gather together more than 25 projects from today's most talented paper artists. Simple instructions outline card- and envelope-folding basics plus how to screen print, use a Print Gocco machine, hand-bind, emboss, stamp, stencil, and much more. Ready-to-use patterns and spiral binding ease the process while easy-to-follow directions, cute illustrations, and finished project photos make it a cinch to create stacks of boutique-worthy greeting cards.

Cozy Knits: 50 Fast & Easy Projects from Top Designers
Start Scrapbooking: Your Essential Guide to Recording Memories
Abstract Art Painting: Expressions in Mixed Media
3 4 Glitter the letters. Open the file folder and lay it flat on your work surface. Place the first letter on top of the file folder (Figure 5). (Optional: Fill in the letter with a permanent marker or gel pen that matches the glitter color you plan to use; this will give the letter a more opaque look.) Fill in the letter with craft glue (Figure 6). Sprinkle glitter to completely cover the glue (Figure 7). To remove the excess, tap the oval over the center of the file folder. Fold the file.
2 3 4 56 p25+56+64+88+91+95+97.indd 56 4/16/08 4:40:22 PM Mother’s Day bouquet. Make the bouquet, and rubber-stamp the word Mom on the front of the card. Accompany with a real bouquet of mom’s favorite flowers! Name: Wedding bouquet. To congratulate friends on their marriage, position the You Send Me bouquet at an angle on the card, so it looks like it has just been tossed. Save the date bouquet. Make this card assembly line–style: Affix the bouquet to a flat card that is preprinted.
Center, working outward, smoothing out any air bubbles. Repeat for the back panel (Figure 8). ok 8 87 L020076_p001-144.indd 87 4/16/08 2:10:38 PM 11 Adhere the endpapers to the book covers. Brush a thin, even coat of glue on the wrong side of your endpapers. Center one endpaper on the inside of each cover—they should completely cover the panels you just glued down (Figure 9). Press the endpapers firmly onto the cover board, and smooth out any air bubbles with the bone folder. 12 Let the.
(Figure 6). 3 Assemble the badge. 4 Make the card. Cut a 1 1/2" circle from your small piece of card stock. Apply some craft glue to this circle and center it on the back of your rosette. Press to adhere. Apply a small amount of craft glue to your bar pin and center it on the circle, pressing to adhere (Figure 7). Let it dry for 30 minutes. Using a glue stick, apply glue to the wrong side of the patterned paper. Center the card stock on the patterned paper, doing your best to align the two.
63) Screen-printing supplies, including screen-printing unit, photo emulsion, photo sensitizer, screen-printing ink, and photoflood lightbulbs, from Dick Blick Art Materials (see General Craft and Art Supplies) or London Graphic Centre (see General Craft and Art Supplies). Custom-made screens from Standard Screen Supply (www.standardscreen.com). Arturo cover-weight paper in pale blue (12 x 12") from Paper-Papers.com (www.paperpapers.com). Pop-Up Birdie Hello (page 31) Script font (Archive.