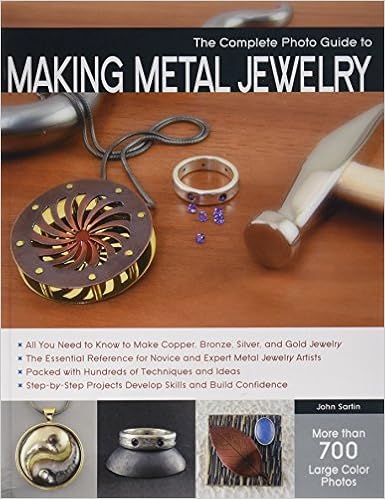
The Complete Photo Guide to Making Metal Jewelry
John Sartin
Language: English
Pages: 224
ISBN: 1589237366
Format: PDF / Kindle (mobi) / ePub
With beautiful illustrations and step-by-step instructions, this how-to book includes all the techniques involved in crafting metal jewelry, including:
—Cutting and filing
—Cold connections
—Soldering
—Texturing
—Forging and forming
—Setting stones
—Applying specialty finishes
The book’s clear organization provides easy access to information with straightforward directions and hundreds of full-color photos. You’ll also find easy projects for trying the techniques, as well as a stunning gallery of metal jewelry pieces by experienced designers. Find beautiful jewelry examples and gain skills and inspiration with The Complete Photo Guide to Making Metal Jewelry!

Sewing Machine Secrets: The Insider's Guide to Mastering Your Machine
A Life in Stitches: Knitting My Way Through Love, Loss, and Laughter
Next Steps In Weaving: What You Never Knew You Needed to Know
Petal & Twig: Seasonal Bouquets with Blossoms, Branches, and Grasses from Your Garden
Torches available as well as gasses that they use. The one you choose is primarily based on preference and your plans for it. Talk to your supplier to find the right fit for you. After selecting a torch, you will need a way to ignite it; a manual striker is very inexpensive and will work just fine. Or try electronic igniters; they are more convenient and allow you to light the torch with one hand. Never light a torch with a cigarette lighter. Also be sure to have a pair of tinted safety glasses.
Temperatures. Annealing Let’s see if we can explain this without getting too scientific: Metal is made up of atoms that form a crystalline structure. When the metal is worked, such as hammered, twisted, rolled, or formed, the crystalline structure is fractured and stressed. This makes the metal less malleable and harder to form. When the metal is annealed—that is, when the metal is heated to a certain temperature and cooled rapidly—the stress in the crystal structure is relieved, which.
Quench annealed copper in clean water. 4 With copper tongs, place annealed copper in warm pickle for 5 minutes. 5 Neutralize pickle in baking soda bath, rinse with clean water, and dry thoroughly. 6 Sandwich the dried leaf between the two pieces of copper. 7 Adjust the roller wheel on the top of the mill to open the rollers wide enough so you can slip the stack between them. Tighten the knob until the rollers just touch the stack. You will notice some resistance when you pull.
• mallet • bracelet mandrel • block of basswood • ball-peen hammer • dapping punches Materials • 18-gauge (.040") (1.02 mm) red brass sheet 1 Cut a 6" (15.2 cm) length of the red brass sheet 1" (2.5 cm) wide and round off the ends with a file. 2 Anneal the piece of brass, quench, pickle, neutralize, rinse, and completely dry it. 3 Using a depression in the end grain of a block of basswood and a ball-peen, begin forming the strip (see Synclastic Forming, page 116). 4 The piece.
Is the simplest and most intuitive skill to learn if you follow a couple rules: First, firmly support the piece that you are filing. Second, file in only one direction, away from yourself. And finally, use a flat file for straight cuts and outside curves, and a rounded file for inside curves. The files that are used most in making metal jewelry are called needle files. Like drill bits and saw blades they come in a variety of shapes, sizes, and cuts. The cut of a file is its coarseness, which.