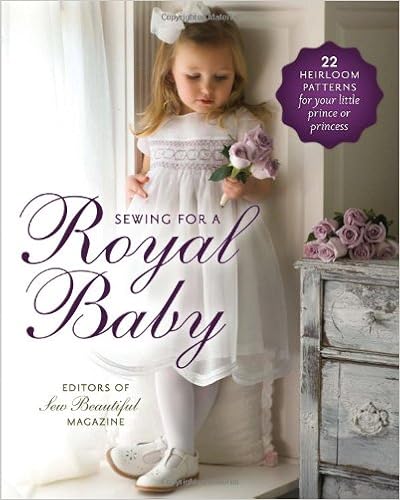
Sewing for a Royal Baby: 22 Heirloom Patterns for Your Little Prince or Princess
Language: English
Pages: 144
ISBN: 1878048813
Format: PDF / Kindle (mobi) / ePub
Any time a royal event takes place–a wedding, a birth–the world takes notice and what captures their attention first is the royal attire. Who would not want their own little prince or princess to be just as beautifully dressed? Sewing for a Royal Baby includes three designs inspired by actual royal garments, including the royal christening gown, as well as a variety of fine heirloom designs exclusively selected by the editors of Sew Beautiful magazine.
Sewing for a Royal Baby allows new mothers and grandmothers to create a royal wardrobe for their new little one using the complete patterns and instructions provided with the book and accompanying CD. The patterns are sized differently according to the style, but the gowns start at newborn and go up to 18 months. The bubble goes up to 24 months. Toddler dresses go up to size 4, and the boys' pieces go up to size 3.
The companion CD contains all of the project patterns plus two additional slip patterns, the complete Vintage Royal Alphabet machine embroidery template, and most of the embroidery designs (hand and machine) in the book, as well as some appliqué designs, and technique descriptions for:
- Shadow embroidery
- Geometric smocking
- Basic French sewing
- Lace shaping
- Hand embroidery
- Shark's teeth
- Plackets
- Neck bindings
- Piping
From bonnets and booties to breathtaking christening gowns and sweet toddler looks, Sewing for a Royal Baby will inspire sewists to create a wardrobe fit for a little prince or princess using a variety of heirloom sewing techniques.

Fantasy Fashion Art Studio: Creating Romantic Characters, Clothing and Costumes
Origami Masters: Bugs: How the Bug Wars Changed the Art of Origami
To the original look and a perfect paring for the Elizabeth’s Red Dress, the outfit could be made in any color combination to suit your tastes. Britain’s Prince William waves as he leaves St. Mary's Hospital in Paddington, London, after visiting his mother, Princess Diana, and her new baby son, September 16, 1984. (AP Photo) What You’ll Need… PATTERN (included in the downloadable pattern files, available here) “Prince William’s Shirt” (sizes 1 to 4), adapted to front smocking.
Collar. Stay-stitch around the neckline edges to baste the collar and lining layers together. Constructions With the right sides together, stitch the smocked fronts to the shirt back at the shoulder seams; overcast to finish the seam (FIG.10). FIGURE 10 Place the collar to the neckline with the wrong side of the collar to the right side of shirt. Overlap the front closure so that center front marks align. Pin the collar so that the piping edges will meet at center front (FIG. 11).
Starting 13⁄4" (4.5 cm) from basting, mark a line for the first tuck. Measure 11⁄4" (3.2 cm) from the first tuck line three more times for a total of four tuck lines. Fold the netting on the tuck lines and stitch 1⁄8" (3 mm) tucks with quilting thread and a 3.0 stitch length; leave tails at the ends of each row to draw up later. With quilting thread and a 3.0 stitch length, stitch a 1⁄4" (6 mm) hem along the back raw edge, leaving a thread tail to draw up later. Remove or soak to dissolve.
And to work on only one row at a time. If you clip all the tucks at once, you have to fold all those little pieces out of the way as you stitch, and then they start to fray. Turn the piece wrong side up and fold up the bottom of the block so you are looking at the underside of the bottom clipped tuck. At each clip, fold the cut edges so they lie right along the stitching line, making a “V” at each clip (FIG. 3). Press well and secure the folded corners with a tiny bit of water-soluble glue or.
Off by sewing through the mound on the back a few times (FIG. 8). FIGURE 8 When working a granitos flower, make the center granito first, and then form the petals around the center, aligning the A-B points radiating from the center of the flower. Do not trail threads between granitos (FIG. 9). FIGURE 9 Lazy Daisy With one strand of green floss, tie on inside the narrow end of the leaf close to the center with one split-backstitch. Bring the needle out at the base of the leaf at A.