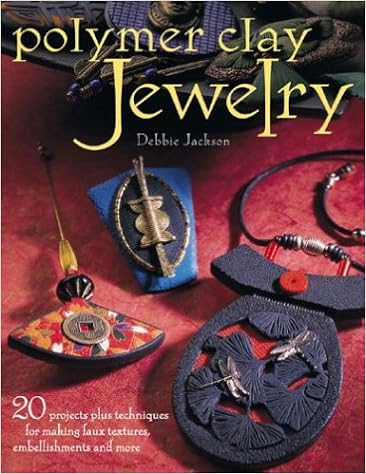
Polymer Clay Jewelry
Debbie Jackson
Language: English
Pages: 128
ISBN: 1581805136
Format: PDF / Kindle (mobi) / ePub
Create stunning jewelry with imaginative ideas!
In Polymer Clay Jewelry, Debbie Jackson shows you how to create 20 gorgeous projects with an array of polymer clay and jewelry-making techniques. Using embellishments, textures, liquid polymer clay and canes, you'll create one-of-a-kind pieces including:
- Hinged Dragonfly Pendant
- Oriental Fan Hatpin
- Embedded Bead Earrings
- Eggshell Mosaic Brooch
- Snakeskin Bangle
Each project includes step-by-step instructions, complete supply lists, and full color photos to help you achieve professional results. Jackson also includes an inspirational gallery of polymer clay jewelry pieces using techniques featured in the book.
Whether you're a beginner or a seasoned enthusiast, this fresh approach to polymer clay techniques will provide the skills and creative spark you need to create truly extraordinary accessories.

I Can Do That! Woodworking Projects - Updated and Expanded
Instant Talent: Personalized Doodles
Adventures in Mochimochi Land: Tall Tales from a Tiny Knitted World
BiblioCraft: A Modern Crafter's Guide to Using Library Resources to Jumpstart Creative Projects
Café, crème, savon et Cie: La petite chimie du matin de Marie Curieuse
Textures Gallery Liquid Polymer Clay Embedded Bead Earrings Eggshell Mosaic Brooch Laminated Collage Pendant Faux Cloisonné Enamel Brooch Liquid Polymer Clay Gallery Canes Ginkgo Leaf Earrings Snakeskin Bangle Mudcloth Pendant Bengal Tiger Brooch Sea Turtle Pendant Canes Gallery PATTERNS RESOURCES Introduction Being a full-time polymer clay teacher has been so rewarding because I could teach, experiment and learn at the same time! If it wasn't for teaching, I wouldn't.
Hank of glass beads (1 cut off two strands) • metallic powder • earring posts • lace or texture material • superglue • small piece of paper • pasta machine • 1″ × ¼″ (3cm × 1.9cm) oval cutter • scissors • needle tool • plastic container • stirring stick • soft cloth • stiff paintbrush • clay shaper tool 1. Adhere Pearl to Oval Condition ½ block of aqua clay and run it through the pasta machine on the #3 setting. Cut out a circle with a 1″ × ¾″ (3cm × 1.9cm) oval cutter. Place.
Polymer clay (Fimo Classic) • liquid polymer clay (Translucent Liquid Sculpey [TLS]) • 2mm leather cord • necklace cord clasp • aluminum foil • superglue • pasta machine • acrylic roller • tissue blade • craft knife • paintbrush 1. Make Double Triangles Condition ½ block each of six contrasting colors (the colors I used are listed above) and run through the pasta machine on the #1 setting. Make strips measuring 2″ × 5½″ (5cm × 14cm). Cut the strips diagonally lengthwise with a.
Workable. Mixing Colors Although many beautiful colors of polymer clay are on the market, I enjoy mixing my own to get the results I need. After a brief study of color theory, I am now able to mix colors to match fabrics and home interiors. In working with polymer clay, I have found that some colors darken after baking. Adding a portion of white, yellow, ecru, fluorescent or a pastel of the original color makes it lighter and brighter. Colors can be mixed by rolling and twisting by hand,.
275° F (135° C). Allow to cool. 6. Make Frame To make the frame, run the remaining black clay from step 3 through the pasta machine on the #1 setting. Cut the sheet in half and run one half through on the #4 setting. Stack one black sheet on top of the other and place the baked oval on top of the layered raw pieces. Trim the raw clay around the outer edge of the baked oval with a craft knife. 7. Remove Center Remove the oval cut-out from the raw clay and set it aside. Place the baked.